Holiday Happiness

Sun Bow | Whims And Fancies


It was a very good holiday.  It started with a 4-mile run/hike in the park after quite a few foot injuries over the last 12 months.  As I stopped for a breather, I looked up and was greeted by a beautiful sun bow which I have never seen before.  Even though my latest broken toe suffered a little after the run, it felt so good to be out there under the open sky again.


Annual Book Drive At Barnes And Noble | Whims And Fancies


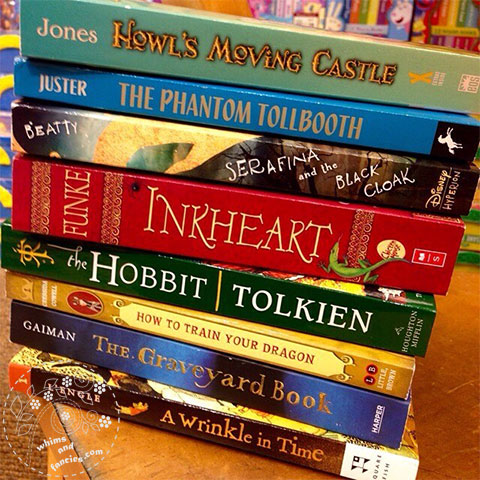
We went to the Barnes And Noble bookstore for the annual children’s book drive. We have been doing this for over a decade now.  Every year, we happily browse through the children’s section to pick out books, then purchase them at the register and leave them there to be distributed amongst disadvantaged children.  I hope these books provide them an escape like they still do for me.


Sticky Toffy Pudding Nigella Lawson | Whims And Fancies


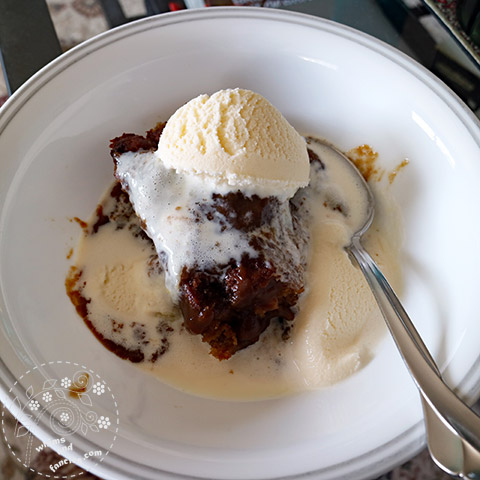
Once a year, I indulge the child in me by eating my favourite dessert – sticky toffee pudding and vanilla ice cream – for breakfast.  I make it using Nigella Lawson’s easy recipe with reduced sugar for the sauce.

Imagine me sitting in my pyjamas, wearing fluffy house shoes, firing up the video game console with a bowl of this on my lap. 


Artists And Craftsman Art Supply | Whims And Fancies


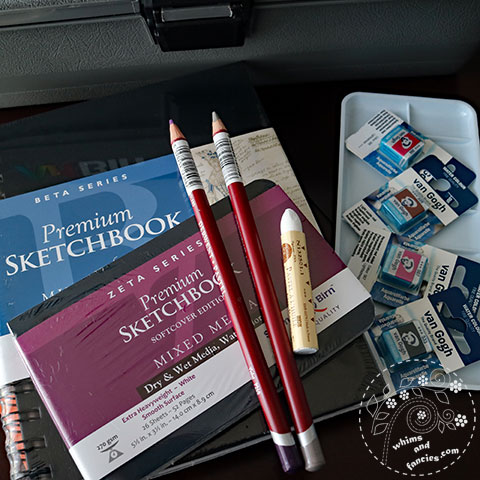
We visited the Artists And Craftsman art supply store in San Francisco.  My husband waited very patiently with me while I browsed the shop.  During this first visit, I was elated to find so many of my favourite art supplies under the same roof.  Afterwards, we walked up to one of the many cafes in the area for a fabulous lunch ending with a decadent tiramisu.


Fabric basket | Whims And Fancies


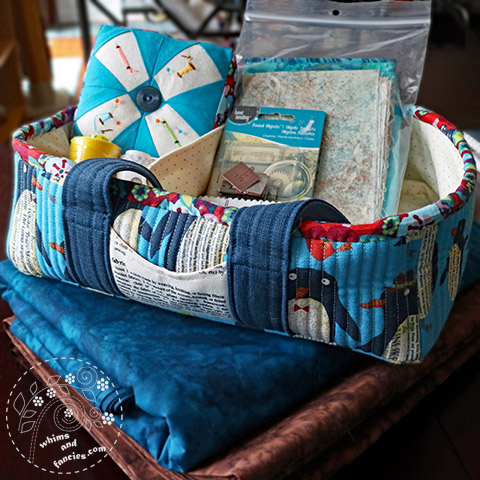
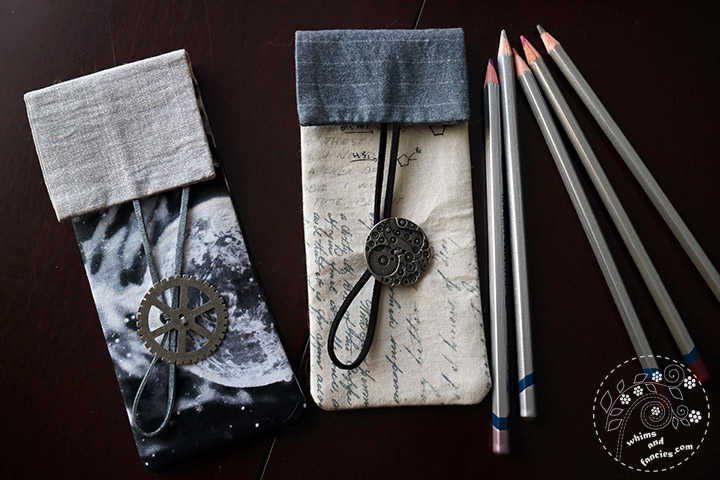
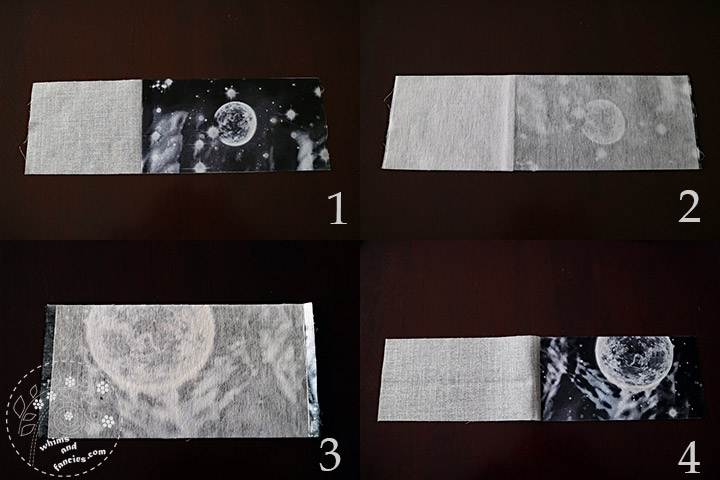
I received a package from Kris.  The box was packed with sweet little things, beautiful fabrics, a hand-embroidered pincushion AND this lovely basket using penguin fabric.

I often paint sitting at the dining table. It gets great afternoon light.  Now I have this lovely basket to carry all my art supplies over from my atelier to the table.


Watercolour Paint Swatches | Whims And Fancies


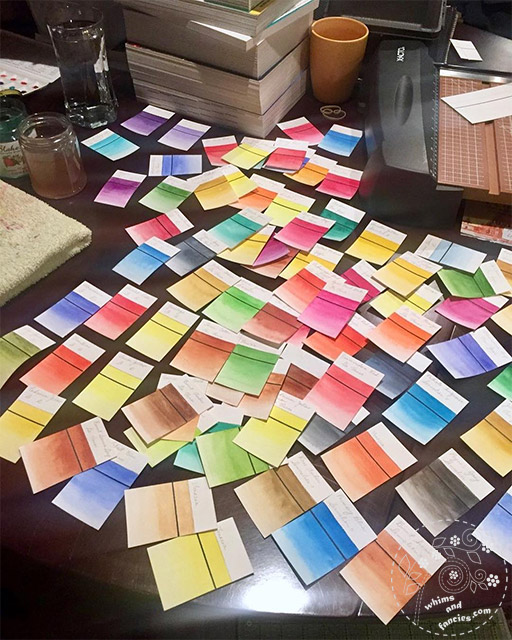
New Year’s Eve, I started making paint swatches.  Approximately 7 hours later, after watching a few of our favourite movies and having a few small drinks, I finished painting all the swatches at 3:30 AM.  I made a total of 151 cards.


I also played with a few design ideas for new projects.  I am using very bold, minimalist graphics for this set.


Napa Woodland Hike | Whims And Fancies


The holiday concluded with a long hike on Saturday, followed by a mountain trail hike for my birthday on Sunday.  I had to nurse the injured foot, but that was not going to thwart me.  I suffer from severe acrophobia.  Mountain hikes are great for facing my fear.  My camera provides the distraction and my husband is the best companion.  The trail was exceptionally quiet that day and we had an exhilarating woodland hike.


My pre-holiday ennui has now disappeared.  I have a number of plans for the future.  Taking that next step is always daunting, but I feel ready to face that fear.  I can’t wait to share with you these new ideas.

-Soma


I am linking up with the linky parties on my Events And Links page.  Please pay a visit to some of them.


Leave a comment


Pencil Cases With Adjustable Flap – Tutorial

Pencil Cases With Adjustable Flap – Tutorial | Whims And Fancies


Since we live on the Pacific coast, any overseas travel ends up being a very long affair.  First, it’s about a 5-hour flight coast to coast across the US, then crossing the Atlantic takes another 8+ hours depending on the destination.  I always pack in a sketchbook and pencils to keep myself occupied.

It occurred to me that a small pencil case would be nice as a storage for those flights.  That way, I wouldn’t have to keep holding them in my hand and also wouldn’t risk dropping them.


Pencil Cases With Adjustable Flap – Tutorial | Whims And Fancies


The grey one was so easy to make that I decided to make another one using the space fabric and share a tutorial with you.

The one I made is 3.0 inches wide and holds 7-8 pencils.  You can adjust the width to add more pencils, of course.   Substitute the 3.5 inch with your own number for the adjusted width.  Just remember to add 0.5 inch for seam allowance (0.25 inch on each side).

You don’t have to be too exact with your measurements for this pencil case.  There is room for mistakes and you can always trim to align the sides.  I used 0.25 inch seam allowance.


Materials –


Outside Fabric (space fabric in the pictures) –

7.0 x 3.5 inches – 2 pieces, one for the back side and one for the front side

Lining Fabric (light grey/silver fabric in the pictures) 

A contrasting colour works well for this project.

7.0 x 3.5 inch – 1 piece

4.0 x 3.5 inch – 1 piece

10.5 x 3.5 inch – 1 piece

Iron-On Interfacing –

Light-weight interfacing, just stiff enough to provide stability.

7.0 x 3.5 inch – 1 piece

10.5 x 3.5 inch – 1 piece

Button – 1 medium to large size

Cord – 16.0 inch


Pencil Cases With Adjustable Flap – Tutorial | Whims And Fancies


1. Place the 4.0 x 3.5 inch lining fabric on top of the 7.0 x 3.5 inch outer fabric that is for the back side, right sides facing together, aligned at the top.  Sew the 3.5 inch top edges together.  Note – If you are using directional outer fabric, make sure to stitch the lining piece to the top edge of the outer fabric.  Press the seam.

2. Iron on the 10.5 x 3.5 inch interfacing on the back of the above piece.  This is the finished back piece.  Set it aside.

3.  Take the 7.0 x 3.5 inch outer fabric that is meant for the front side, iron on the 7.0 x 3.5 inch interfacing on the back of this fabric.

4.  Place the 7.0 x 3.5 inch lining fabric on the piece from step 3, right sides facing together, aligned on all sides.  Sew the 3.5 inch top edges together. Note – Here also, if you are using directional outer fabric, make sure to stitch the lining piece to the top edge of the outer fabric.


Pencil Cases With Adjustable Flap – Tutorial | Whims And Fancies


5.  Fold the lining fabric behind the outer fabric,  iron the seam and top stitch.  Measure approximately 2.5 inches from the bottom (open edge) and sew a button in the middle.  I stitched the button only to the outer fabric.  This is the finished front piece.

6.  Place the 10.5 x 3.5 inch lining fabric wrong side up beside the finished front piece from step 5, aligning the bottoms.  Mark a spot in the middle of the lining fabric such that the spot is at least 0.5 inch under the top edge of the front piece on the right side. Sew the cord on the wrong side of the lining fabric on that marked spot.  Note – Make sure the cord is pointed upward, away from the bottom edge, as shown in the picture.

7.  Lay down the long back piece right side up.  Place the smaller front piece on top of it with the lining fabric side facing up, outer fabric side facing down.  Then place the cord-stitched lining fabric, wrong side up, as shown.  Note – Make sure the cord is pointing toward the top side.  I offset the pieces in the picture to show you the placements.  Align all sides.  Sew the bottom side (opposite the cord) first, then sew the two long sides together.  Leave the top open so you can turn the pencil case out.

8. Trim the bottom corners and slowly turn the pencil case out.


Pencil Cases With Adjustable Flap – Tutorial | Whims And Fancies


9.  Place a pencil in the pocket now and fold the flap over for sizing.  Trim the edge if you want a shorter flap.  Note – If you trim, make sure to tuck the cord in between the lining and the back piece to keep it out of the way.  Fold the open edge in 0.25 inch all around and iron.  You can now top stitch the top gap to close it.  I didn’t like that look, so I blind-stitched mine.  Make sure the cord is in the centre as you stitch the gap shut.


Pencil Cases With Adjustable Flap – Tutorial | Whims And Fancies


That’s it!  This is the back of the case.


Pencil Cases With Adjustable Flap – Tutorial | Whims And Fancies


Fill the case with pencils, loop the cord around the button a couple of times and tie a knot.  I used a cord instead of velcro or a push button because I wanted the opening to be versatile.  This way I can use it for pencils or pens of different lengths and still be able to close the case snugly.


I hope you find this tutorial useful.  I am sure you can think of many things to store in them other than pencils and pens.


I really liked the steampunk charm pieces, but I needed buttons.  So I drilled holes in them to make buttons out of them.  My local craft store didn’t have any grey cord, and I really wanted to use a silver/grey cord for the space-themed one.  I cut a piece of black cord, taped the two sides to a piece of paper, then brushed silver acrylic paint on it.  It worked out wonderfully.  This whole project ended up being completely improvised, starting with a wrong cut of fabric!


Happy Sewing,
-Soma


I am linking up with the linky parties on my Events And Links page.  Please pay a visit to some of them.

 https:


Leave a comment


Enter your email to receive new inspirations, product reviews and pro-tips
icon
error: Content is protected !!